Thursday, April 12, 2012

Tutorial: Wool Sweater into Kid's Vest and Cap

This is a cashmere sweater I got a Goodwill ages ago.  I used the sleeves as pants a while back.
Below is a description of how it then also became a vest!  And  two caps.
The arms are a bit wide and loose.  To remedy this, I could slide in a bit of elastic (use the bias binding as a casing).  I think I will just leave it, though.
I wanted to keep the existing neckline.  To gauge the width and arms, I laid an existing vest pattern onto the sweater.  You could just as easily use a shirt or vest that fits.
I also wanted to make sure there was room for a cap underneath.
Then I cut the sides based on the "pattern".  Note I kept the neckline intact.
Here it is with both sides cut out.
Then I used a cap as a "pattern" and made sure to add room for the seam allowance.
To bind it, I made bias binding tape out of an old sheet.  I stitched it to the edges of the sleeve and bottom. 
The I tucked it over, widened my stitch length from 2.5 to 3.5, and made sure to catch the bottom edge as I topstitched, thus encasing the binding and vest edges.
Here it is with the edges bound.
Then I stitched up the sides once with a straight stitch and once with a zig-zag/ faux serge.  You could also use a real serge.
I love using a chain stitch and feeding multiple seams in a row without cutting them apart to save time and thread.
I put my label over the existing label.
Here it is!
To make the caps, I stitched the fronts and backs together, then used a zig zag on the edge of the one that  was cut from the rest of the sleeve.  I don't love how it turned out.
 
Posted by Picasa
Pin It

Monday, April 9, 2012

Video of Giraffe Giving Birth

When we were awaiting the birth of the baby, we spent a lot of time watching this video of a giraffe being born and talking about how the baby would be born.


Pin It

Sunday, April 8, 2012

Passover Sedar Food for Kids - with Homemade Gefilte Fish Recipe

I was menu planning a few days ago, and decided against doing gefilte fish.... then I got inspired and made some.   I used the recipe in Shalom on the Range, which is basically 2.5 lbs of fresh fish, ground up and mixed with 1/2 cup matzoh meal, 5 eggs, and a teaspoon of salt and pepper, then shaped into balls and dropped into a pot of boiling water with onion and fish heads/ carcasses and boiled on medium-low for 4 hours.  They were delicious!
This is the fish being ground.  The cookbook calls for a mixture of carp, buffalo, pike, and whitefish.  At the market, the fish monger informed me these are East Coast fish and I should have ordered them a week or two ago and they were all gone.  He then led me to some grouper, black cod, and salmon.
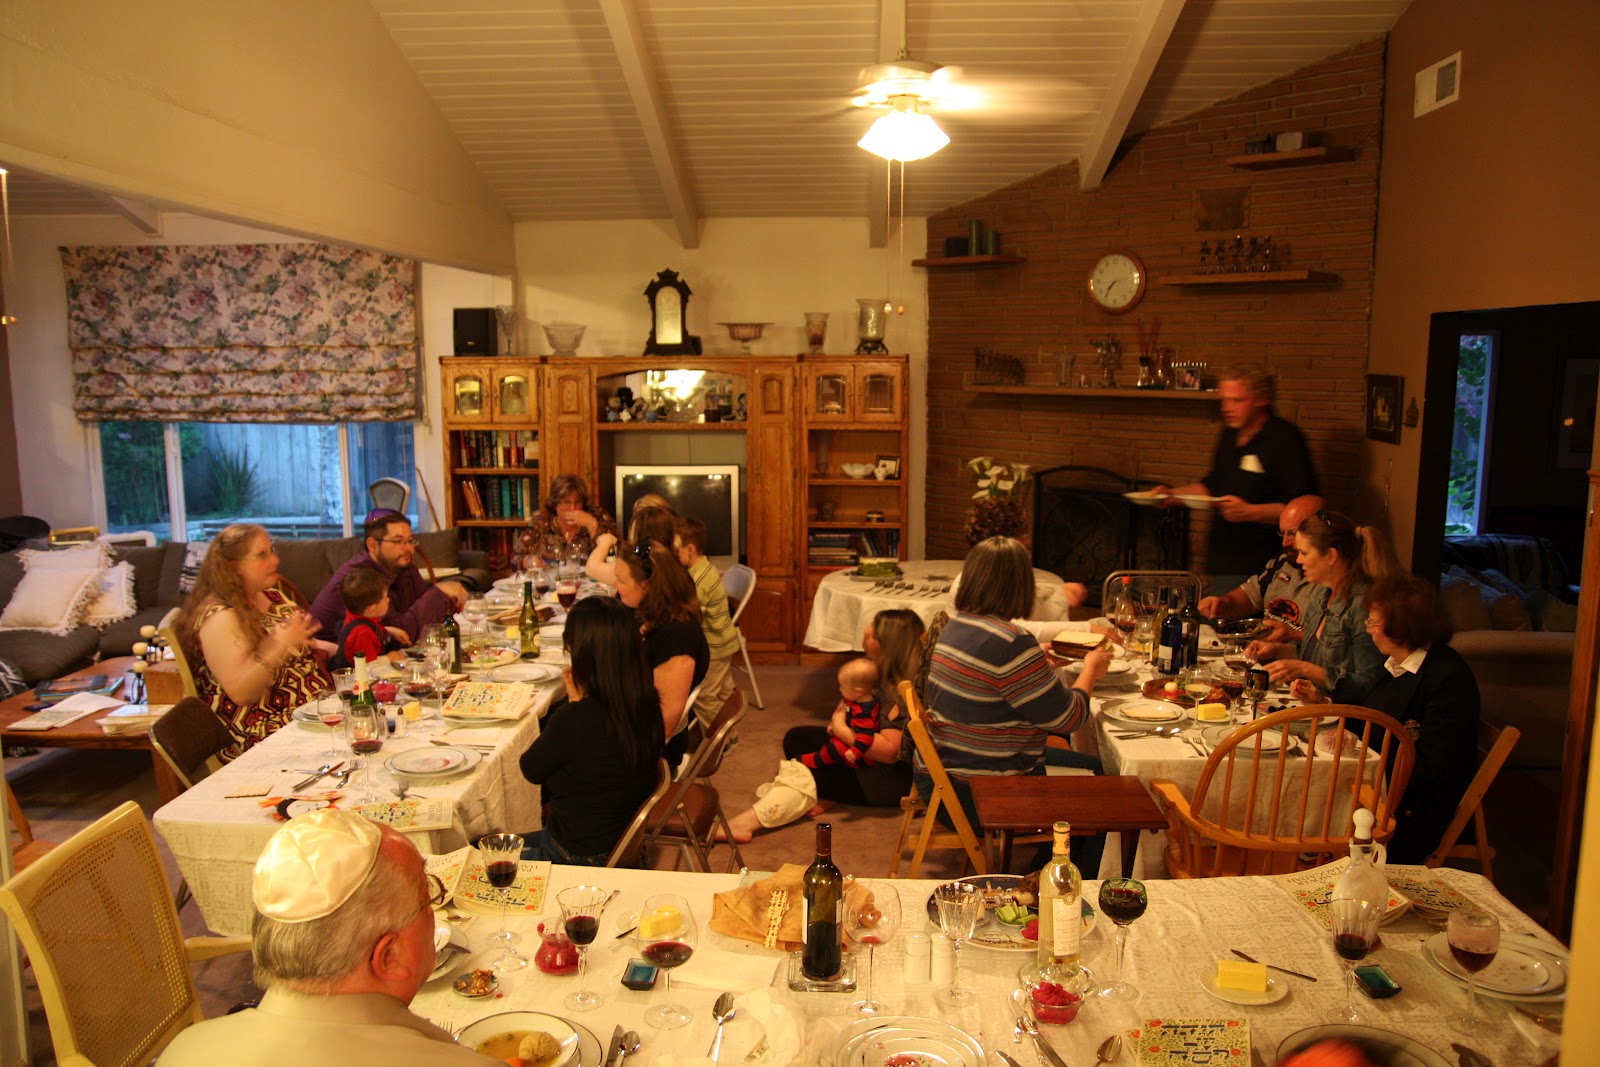
Here is what we ended up with!  Orange Cabbage from Nourishing Traditions, Pineapple Matzoh Kugel from Shalom  on the Range, Roasted Chicken (350 for 1.25 hours without seasoning), Gefilte Fish  from Shalom  on the Range, Charoses from Marsha's Kitchen, Horseradish  from Shalom  on the Range (with a root from a friend's garden), Vegetable Kugel  from Shalom  on the Range  (modified to fit the contents of our weekly CSA box, of course), Roasted Butternut Squash (precut and peeled butternut squash roasted with olive oil and sea salt), and Matzoh Ball Soup.  We ran out of time to make macaroons from Elana's Pantry!   
While we were cooking, the baby was fed his first matzoh by his brother.
The matzoh ball dough...
This is the Kidcraft Passover Set.  It is wooden, and includes a sedar plate with removable food, a wine bottle and wine glass, afikomen bag, matzoh bag, hagaddah, and 3 matzohs, one of which is a 2-part puzzle.  Fun to play with, plus it doubles as a sedar plate!
Posted by Picasa
Pin It

Saturday, April 7, 2012

Family (of 4) Bike Ride #1


We did it!  


We took the family of four on a bike ride.  Together!


The toddler was behind daddy in a Weehoo and the baby behind mommy in a Topeak seat.

This was nice~ ok, fabulously nice to be on the bike again~ BUT I would like to take everyone on my bike so we don't have to wait for daddy!  And the baby got a bit annoyed on the way home after I hit a bump.

Ideas include: the Xtracycle Free Radical Family, Boxcycles Christiania, adding a front seat for the baby and moving the trailer bike to Mommy's bike (the Yepp with windscreen may be our best bet).

Check out these guys!

Posted by Picasa
Pin It

Friday, April 6, 2012

Outdoor Toy Storage - Upcycled Bins

 
We keep our outdoor toys in old tree pots~ the black ones that the trees come in from the nursery.  These are great because they are all-weather, plus they have holes in the bottom for drainage if the bins get left out in the rain.
Pin It

Thursday, April 5, 2012

Gold Leaf Paintings from Agra, India - Mumtaz Mahal and Shah Jahan


I was taking the top photo as my older son was getting the fabric paints down earlier today to make a shirt.  While taking them, I was again struck by the beauty of the gold leaf paintings in my office.  I bought these in India in1998 from a street vendor.  I am so grateful they are still in my possession!


The one on the left is Mumtaz Mahal, the woman for whom the emperor Shah Jahan built the Taj Mahal in Agra, India.  It is her final resting place and took him 22 years to build.  Talk about a sign of his adoration!


Posted by Picasa
Pin It

Wednesday, April 4, 2012

Kids' Art: DIY Easter Egg Basket, Upcycled

 
I don't know how many eggs we are planning on fitting in here, but it is a fully lined basket for their comfort and safety.

(It is a strawberry basket with a few fleece squares.)

Actually, I do know how many real eggs it will fit comfortably.  Three.  That is because we spent the afternoon with our eggs in an out of it and it in and out of the fridge.
Pin It

Tuesday, April 3, 2012

Passover Menu Planning

 It's almost Passover time!  
I think we may skip the gefilte fish! Blasphemy, I know.  But every time I look on the bottles of it at the store, and read the ingredients, I cringe. There is so much odd stuff in there (MSG, anyone?). I do have a recipe for making it, but as I am the only one who likes it at our table, I may not go to the trouble this year.

So what ARE we having?  Here is what I am thinking for our menu:


  • Matzoh
  • Hard Boiled Eggs
  • Parsley
  • Salt Water
  • Charoses *
  • Horseradish
  • Matzoh Ball Soup (Matzoh balls in bone broth with sea salt)
  • Braised Beef (a tied cut of meat in the slow cooker with bone broth, celery, carrots, and onion on low for 8 hours)
  • Vegetarian Matzoh Kugel of some sort with a bunch of veggies: maybe a matzoh lasagne, or a spinach and veggie and matzoh casserole
  • Cut up fruit for dessert (fresh navel oranges, probably- I just got a huge bag at the farmer's market)


*Charoses Recipe (Charoset): Combine the following ingredients:
1 cup walnuts, chopped
4 apples, peeled, cored, and diced
1 t cinnamon
7 T sweet red wine (we use grape juice)

Pin It

Monday, April 2, 2012

Toddler Toy: Crystal Climbers

 
These Crystal Climbers have been a fun addition to our arsenal of building toys.  How they stick together is fun, plus the colors are nice.  We can also sort them and try to imitate the photo on the cover.  That is how this particular structure came to be.

Pin It

Sunday, April 1, 2012

Tutorial: T-Shirt Sleeves into Baby Shirt


My mom made me this shirt out of an old t-shirt: she used the sleeves for the body and the body for the sleeves!
I made two of these at once: first the black one, then the white one.  The blue short-sleeved vest fits the baby now, and I used it as my "pattern" to get the sizing of the body piece.  The body is made of the short sleeves with the sleeve hem as the hem on the bottom of the shirt.
Here are the sleeves from the white t-shirt before cutting.  I had already used the body for something else, so it is cut off.
I set the black one on top to use as a pattern.  I made the black one by folding my blue template shirt in half and setting it on the fold of the sleeve.  Here I am, using the back piece of the black baby shirt as my pattern.  It is placed on the fold of the white short sleeved t-shirt.
For the neck, cut the neck off the t-shirt, leaving a seam allowance intact.
Cut 2 sleeves.  Use your template shirt for the curvature and length.  I did these from the body of the black shirt so I wouldn't have to hem them again.  I didn't have enough of the white shirt body to do the same, and had to hem those.
Now start sewing.

First attach the collar to the top of the front and back pieces.  Stitch the seam allowance to the neckline using a straight stitch.  Cut the excess collar off.

Then finish the seam using a serge or zig zag.  Then hold the seam allowance toward the body of the shirt and topstitch it in place.  
Add your name and size tags, if you have them.  You could also mark the back with a piece of ribbon folded in half.
You now have a front and back with a collar at the neckline.  

Stitch the shoulders.  I used a chain stitch to save time and thread.  Zig zag or serge to finish the seam.
Pin the top of the curve of the sleeve to the shoulder seam, right sides together.
Sew the sleeves on.  Finish the seams.

If you need to hem the sleeves, do it now.
You now have a shirt with open sleeves and body.
Fold it in half and stitch up each side and along each armpit and down the sleeve.  Finish the seams.

If you need to hem the bottom, do it now.
Your shirt is done!


Posted by Picasa
Pin It

LinkWithin

Related Posts Plugin for WordPress, Blogger...