

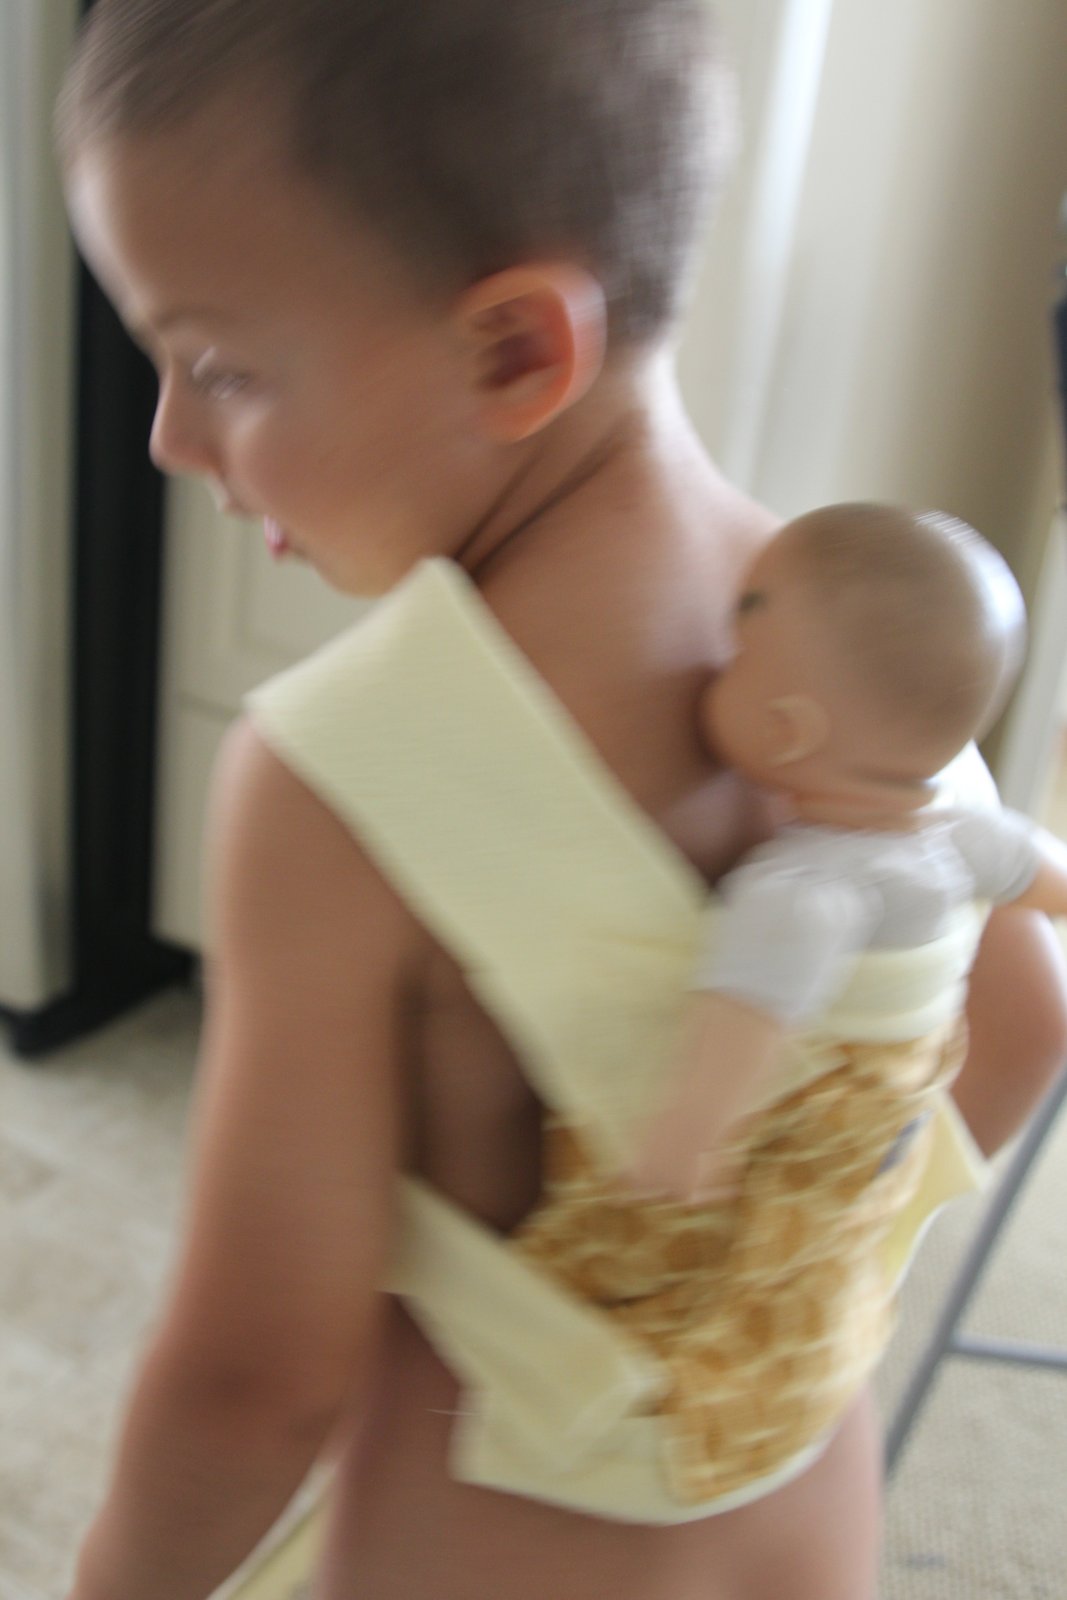
This was super easy to make and is a front and back baby doll carrier. It isn't exactly an Ergo, because it doesn't have a waistband and the straps cross. But the little guy doesn't seem to mind (They sell Ergo doll carriers if yours does!).
To make it, I measured across his body and hemmed that piece of fabric (the yellow fleece on the top and bottom are for decoration only- at the wearer's insistence). I then added a pocket and label.
Then I cut the strap fabric across the width of the piece I had. I then held it against his body again with the baby inside. I pinned the straps on and crossed them behind his back. Then I stitched them on. I did a variant of a box stitch, but it would hold with far less. I didn't hem the straps because fleece doesn't fall apart at the seams.
Then I measured for snaps and added them, making sure to hide additional layers of fabric at the snap locations so they wouldn't pull through when being used.
When I put it on him, he wanted it to also be a back carrier- like my Ergo. Love it!


No comments:
Post a Comment