Tuesday, March 12, 2013

Chicken Necklace


This kid seriously loves chickens.  We can't go out to see the chickens without him-- seriously, he follows us with his boots and hat and screams after us if we don't wait for him.

So it follows naturally that he loves this little chicken figurine.  He loves it so much that he had us put it on a piece of elastic and make him a necklace.
 
Posted by Picasa
Pin It

Thursday, March 7, 2013

Getting Our Veggie Box Dirt Ready for Planting


It had been two summers since we set our veggie boxes using the Square Foot Gardening method of 1/3 peat moss, 1/3 vermiculite, and 1/3 compost.  We have been gardening and adding compost as we plant.

Even with the addition of compost, our soil level has gone way way down.  So we are doing extra prep work to the boxes this spring.  

We are adding more of everything in addition to just fluffing the soil and adding compost.  We didn't fluff the asparagus box, of course, since those crowns are good for up to 20 years.  Those are the only veggies we didn't remove, unlike in previous years where we left some perennial herbs like parsley, chives, and rosemary as well as chard and kale plants.


Posted by Picasa
Pin It

Wednesday, March 6, 2013

Marigolds to Protect our Veggie Box Vegetables


We bought our marigolds this year already started.

I read that if you plant them at the corners of your veggie boxes, their smell deters pests~ naturally, of course.

So until our dirt is ready, we will just reorganize them and water them.
 
Posted by Picasa
Pin It

Sunday, March 3, 2013

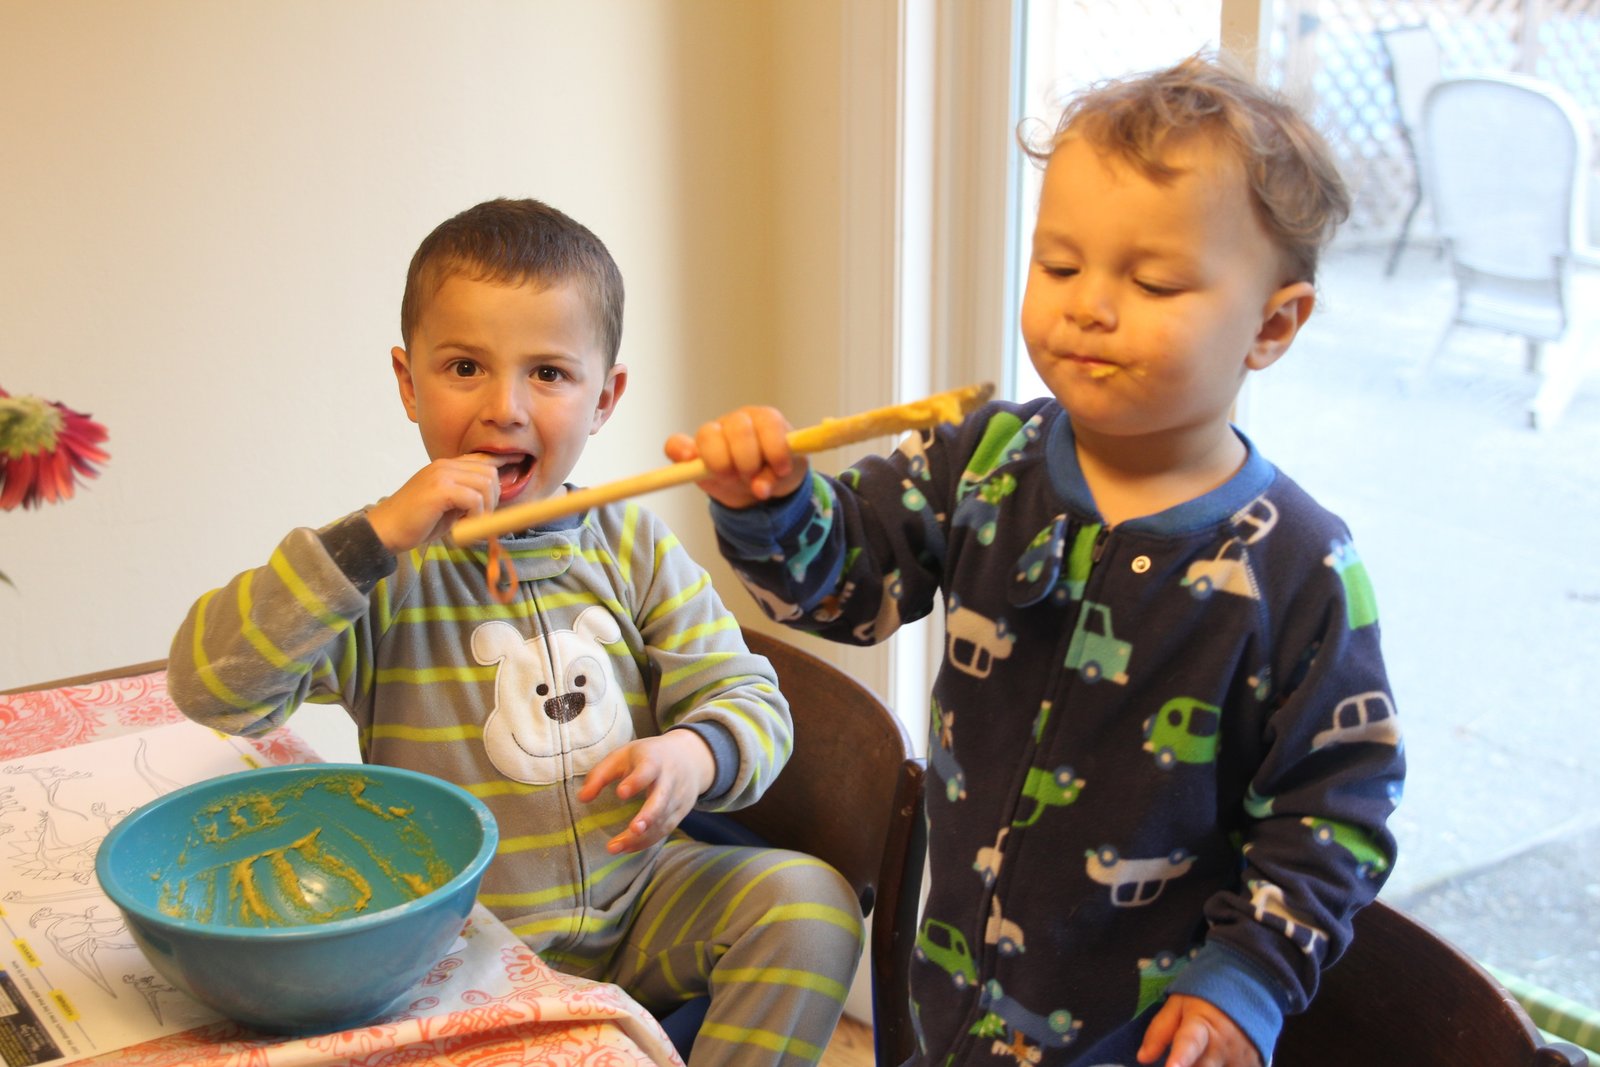
Recipe: "Timna Cupcakes" (Grain Free, Gluten free)

  We went and visited our friend Timna, whose family is on GAPS.  She served these cupcakes, based on this donut recipe, and my older son asks for them incessantly.

Timna Cupcakes

1/2 cup coconut flour
1/4 teaspoon sea salt
1/4 teaspoon baking soda
6 eggs
1/3 cup honey
1 tablespoon vanilla
1 stick butter, melted

Preheat oven to 350 degrees F.
Blend the ingredients together in a bowl.  Mix well.
Fill cupcake papers (makes 6-8 full-sized cupcakes).
Bake for 22 minutes.
Enjoy!
 
Posted by Picasa
Pin It

Saturday, March 2, 2013

Soaker Mats for Nighttime Potty Training

 Yesterday I explained the mini-saga that has been our efforts around trying to balance sleeping with fewer interruptions and also having the little guy (20 mo) get his sleeping pees into the potty (we do EC).  That story ended with him wearing underwear for his naps and peeing in them most of the time, and waking to be changed and put back to sleep.

These mats are fleece on one side and hard quilter's cotton on the other, with Zorb2 in the  middle (2 layers) and with  a wide zig-zag instead of binding on the edges.
Here is the nighttime version of the sleeping story:

He had been wearing Bumkins size large all-in-ones forever (15 to now 30 pounds and they still fit. Pretty awesome for a sized cloth diaper).  We had been putting fleece footed pajamas over them, and getting one leg in and out to potty him at night.  This, combined with his light sleeping, would wake him up when being pottied, unlike our older son, who sleeps through being taken to the bathroom at night.  We chose the pajamas because he only pees twice (sometimes three times) in the night, and he kicks out of the covers and loves having his feet covered.  Also, it is pretty chilly in the house overnight.  We chose fleece because fleece wicks moisture, so if the cloth diaper leaked at all, he wouldn't feel wet (unlike cotton).

I have heard that kids stop peeing in their diaper when you stop giving them a diaper to use.  I was bit frustrated over the last few weeks because we seemed to be wet more often than dry at night (it hadn't always been this way).  I decided it was time for a change and to go with a feel-dry diaper or to go diaper-free.

Yesterday you read how he refused the feel-dry diapers.  So we took some of the mats I had made for his brother, plus some split-crotch pants and socks, and got him dressed for the night.  He has not taken to the pants so far (it's been half a week), and keeps pointing to the hole and saying "uh-oh."  But he has fallen asleep with them on, and even pottied with them on a couple of times.  They are really fabulous~ fleece so they don't feel wet, you can potty him through them so you can disturb him less, and they also keep him warmer than if he were naked.  On the bed you put one of these mats, and if there is a "miss," then you take the kid potty (invariably they don't let it all out) and change the mat.

The new mats I just made (shown above) are nonwaterproof, and fleece on one side and hard cotton on the other.  The little guy has spent time this week complaining the hole in his pants makes him cold, especially on a new (cold) mat.  They are super absorbent Zorb2 in the inside, and I didn't use binding because binding makes more of an edge to roll over (and is uncomfortable) in bed.

Wish us luck with the new method.  So far we have even had one dry night!


Pin It

Friday, March 1, 2013

DIY Waterproof Training Pants (Cloth Pull-Ups) - Feel Dry Liner

 
I just made a half dozen cloth training pants using the free Easter Bunz training pants pattern I had downloaded years ago and saved (here is a list of other free patterns- this one seems to have been removed).

Why, you ask, am I still making training pants?  We do EC and my second child is 20 months old.  He is pretty much daytime potty trained.  Poops go in the potty 99% of the time [and man, does he let us know before the other (and so so rare) 1%], and we have a daytime pee miss maybe once every 5 days.  He wears underwear except when we go to someone's house, in which case he wears nonwaterproof trainers (like these)

Naps and nighttime are another story, though.  He has to pee during both of these times (yes, even when he pees right before he goes to sleep), and often does it then the wetness wakes him up then we have to get him back to sleep.  He sometimes wakes to have us take him potty, though, which is the idea we have been working towards with EC (the "communication" about "elimination").  My "brilliant" brainstorm was to make him waterproof training pants with a feel-dry liner.  The idea is that they would absorb his pee and keep the bed dry, and help him feel dry as well.

I used PUL on the outside and Halloween fabric from Joann's on the inside (I can't believe I forgot the name of the type-- it is a synthetic that wicks moisture-- Wazoodle makes a similar fabric called Diapermaker but it is stretchy and the one I used is a knit, which is easier to work with. You could also use fleece or microfleece). The soakers are a combination of Zorb, knit scraps, hemp fleece, and fleece.  I used regular thin (3/8" maybe? I bought it so long ago...) elastic for the inside, making sure to sew it into the seam allowance on the PUL side).  The snaps are on both sides and KAM.  I chose not to top stitch because I didn't want any extra stitching around the elastic to take away from the elasticity (I have done this in the past and it has flattened it out).  I did, however, use a wide decorative zig-zag in attaching the soaker to the liner.

I chose the Easter Bunz pattern because it is sized larger than my usual EC favorites and my son is now around 30 pounds.  He wears sizes 2 and 3T, so is now in the more traditional training pants sizing categories.  I also wanted a bit more space for more of a soaker (the ones I have preferred in the past have been more of a trim feel).

I was quite impressed at these, and showed them to my son at naptime.  He promptly refused to wear them. Not only did he refuse to wear these, but he then refused the nonwaterproof trainers he had been wearing and would only wear underwear.

Note: Come back tomorrow to find out more about how nights are going/ our nighttime "innovation."

Pin It

Thursday, February 28, 2013

"Tell me about your picture"

 
My preschooler came home with a piece of art that represents something.  Here it is.

I had the good fortune of having been coached by my older brother in things to say to your child that will help nurture them.  He recommends saying, "Tell me about your picture," all the time.

It worked beautifully here.  My son told me all about his gourd.  He used two colors, and they sparkled when they were mixed.  The thick part on the left (which I learned was the bottom when I went to hang it on the wall) is the stem, where it grows from the ground.  It also attaches on the top.

I may leave it on the wall for a good long while.
Pin It

Wednesday, February 27, 2013

Make Your Own Liquid Play Doh

 Liquid Play Doh is a preschool creation.  It is made of a third flour, a third water, and a third salt.  You put paint into the water portion to color it.

After it has been made, it goes into a squeeze bottle and the kids squeeze it onto paper (or cardboard, or a paper plate, etc.).


It is fun for them to squeeze and mix colors.

For us, the little guy just wanted to paint.  The older guy liked mixing it, but said my little squeeze water bottles were inferior to the real squeeze bottles at school.


Regardless, we were able to create a joint masterpiece.
Posted by Picasa

Pin It

Tuesday, February 26, 2013

Flannel Baby Blankets


These blankets are really easy to make and are so useful.  They make great gifts.

I made two this time, one double-layer and one single-layer.  The single layer is 20" x 36" and the double layer is 20" x 26".  I think an ideal blanket is about 26" x 36".

To make the single-layer blanket, you cut the fabric, then hem it under.  To make the double-layer blanket, you cut the fabric then sew it together, right sides facing, leaving a 2"-4" hole for turning on one side (tip: make it on an edge, not a corner).  Then turn it right side out and iron the edges flat.  Then topstitch around, closing the turning hole as you go (tip: use a wider straight stitch for topstitching- it looks nicer-- like a 3.5).

Viola!  Soft and useful!
Posted by Picasa
Pin It

Monday, February 25, 2013

Magic Modeling Clay into Tooth Crowns

Unfortunately, I broke a tooth last week and need a crown.


I went to the dentist and they had me go to the tooth factory (the lab where they make crowns) to get custom color matching done.  I brought both kids and asked for a tour.  The boss came out and gladly gave us one.  We saw the people making mouth molds, and the tooling equipment and all of the various stations and kilns.  It was pretty awesome.  He even thanked us for our interest and gave my kids the molds of someone's mouth and a matching crown as a parting gift. 

We got home and my older son has been making more crowns for the mouth mold using Magic Modeling Clay.  
 
Also, every time I say "dentist," my younger son points to his teeth and says, "uh-oh."

Posted by Picasa
Pin It

LinkWithin

Related Posts Plugin for WordPress, Blogger...